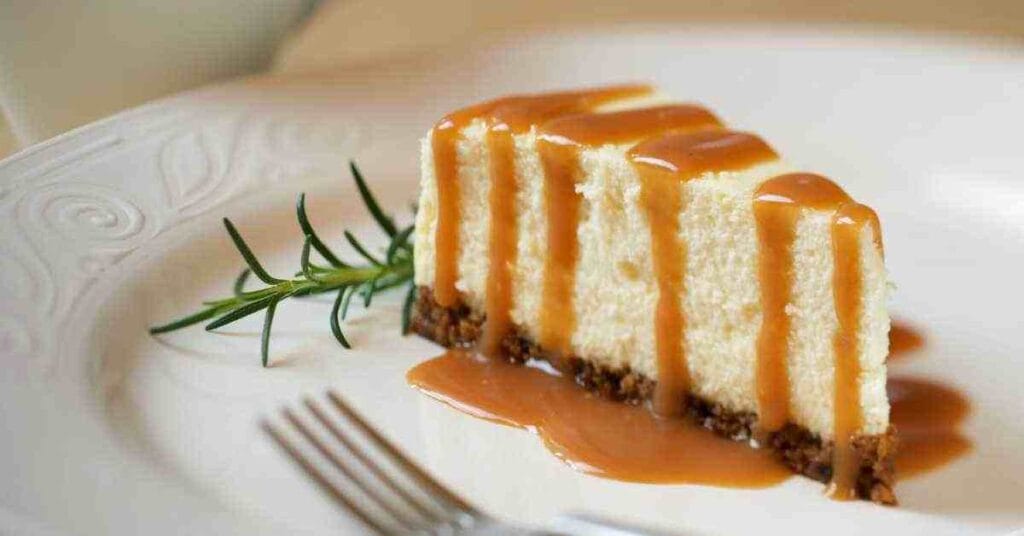
Cooking is an art, a bit like painting or composing music, where flavors and textures combine to create something spectacular. Today, I’ll share something truly unique—Tempura Cheesecake Recipe. This dish is a cross between a classic Japanese technique and a beloved Western dessert, resulting in a crunchy, creamy treat that’s bound to surprise and please your taste buds. Let’s dive right into it!
Recipe Overview
- Course: Dessert
- Cuisine: Fusion
- Total Servings: 4
- Prep Time: 15 minutes
- Cook Time: 10 minutes
- Total Time: 25 minutes
Kitchen Equipment Needed
Before we start, let’s gear up with the right tools. For this Tempura Cheesecake Recipe, you’ll need:
- Deep fryer or a deep, heavy-bottomed pan
- Slotted spoon
- Mixing bowls
- Measuring cups and spoons
- Kitchen thermometer
Ingredients
| Ingredient | Quantity |
|---|---|
| Cream cheese | 200g (7 oz) |
| Granulated sugar | 50g (1/4 cup) |
| Egg | 1, large |
| Vanilla extract | 1 tsp |
| All-purpose flour | 150g (1 cup) |
| Ice water | 100ml (about 1/2 cup) |
| Baking powder | 1 tsp |
| Cheesecake slices, frozen | 4 pieces |
| Oil for frying | Enough to deep fry |
Fact: Did you know? Tempura was introduced to Japan by Portuguese missionaries in the 16th century, originally as a method to cook during Lent.
Step by Step Instructions
Step 1: Prepare the Cheesecake
- Slice the cream cheese into 4 even pieces and freeze until solid (at least 4 hours, but overnight is best).
- Note: Freezing the cheesecake slices helps them maintain their shape during frying.
Step 2: Make the Tempura Batter
- Sift together the flour and baking powder.
- Mix the egg with ice water in a separate bowl.
- Gradually incorporate the dry ingredients to the wet, mixing lightly to avoid developing gluten which can make the batter tough.
Warning: Do not overmix the batter; lumps are perfectly fine and will help create a light, crispy texture.
Step 3: Fry the Cheesecake
- Heat the oil in your deep fryer or pan to 180°C (356°F).
- Dip each frozen cheesecake slice into the batter to fully coat.
- Carefully lower into the hot oil and fry until golden brown, about 4 minutes.
- Use a slotted spoon to remove from oil and drain on paper towels.
Tip: Keep the cheesecake pieces spaced apart while frying to prevent them from sticking together.
Additional Tips
- Ensure oil returns to the correct temperature between batches to keep the tempura batter from absorbing too much oil and becoming soggy.
- Serve immediately for the best texture.
Pairing Suggestions
This Tempura Cheesecake goes well with:
- A drizzle of raspberry coulis or chocolate sauce
- A scoop of matcha ice cream for a fantastic flavor contrast
Nutritional Information
| Nutrient | Amount per serving |
|---|---|
| Calories | 490 kcal |
| Carbohydrates | 45g |
| Protein | 6g |
| Fat | 34g |
| Saturated Fat | 10g |
| Cholesterol | 85mg |
| Sodium | 340mg |
Approximation Note: These values are approximate and can vary based on specific ingredient types and brands.
Dietary Information
This Tempura Cheesecake is suitable for vegetarians. For a gluten-free version, substitute all-purpose flour with your preferred gluten-free flour blend.
FAQs about Tempura Cheesecake Recipe
What is the best oil for frying Tempura Cheesecake?
Canola, vegetable, or peanut oil due to their high smoke points, ensuring a crispy, non-greasy finish.
Can I make Tempura Cheesecake ahead of time?
It’s best served fresh, but you can prep and freeze the cheesecake slices ahead of time. Just batter and fry just before serving.
What variations can I try with this recipe?
Experiment with different cheesecake flavors like strawberry or blueberry for a fruity twist.
Is Tempura Cheesecake Recipe suitable for diabetics?
This recipe contains sugar and is high in carbs, so it’s best enjoyed in moderation by those managing diabetes.
How can I ensure my Tempura Cheesecake doesn’t absorb too much oil?
Maintain the oil temperature and don’t overcrowd the fryer.
Can I bake Tempura Cheesecake instead of frying?
Baking won’t achieve the same crispy texture as frying, but you can try air frying as a healthier alternative.
What’s the best way to serve Tempura Cheesecake?
Serve hot, dusted with powdered sugar or a side of syrup for dipping.
Conclusion
There you have it, a stunning Tempura Cheesecake Recipe that’s perfect for when you want something a bit out of the ordinary. It’s an indulgence worth every calorie!
I’d love to hear how it goes if you try this recipe, or if you have any questions or feedback!
Check out some more delicious dessert recipes:
- Penn Station Cookie Recipe
- Shipley Donut Recipe
- Jeff Ruby Butter Pie Recipe
- Anne of Cleves Cake Recipe
- Edgars Strawberry Cake Recipe
- Bala Baiana Recipe
Tempura Cheesecake Recipe
Equipment
- Deep fryer or a deep, heavy-bottomed pan
- Slotted spoon
- Mixing bowls
- Measuring cups and spoons
- Kitchen thermometer
Ingredients
- 200 g 7 oz Cream cheese
- 50 g 1/4 cup Granulated sugar
- 1 large Egg
- 1 tsp Vanilla extract
- 150 g 1 cup All-purpose flour
- 100 ml about 1/2 cup Ice water
- 1 tsp Baking powder
- 4 pieces Cheesecake slices frozen
- Enough Oil for frying
Instructions
Step 1: Prepare the Cheesecake
- Slice the cream cheese into 4 even pieces and freeze until solid (at least 4 hours, but overnight is best).
- Note: Freezing the cheesecake slices helps them maintain their shape during frying.
Step 2: Make the Tempura Batter
- Sift together the flour and baking powder.
- Mix the egg with ice water in a separate bowl.
- Gradually incorporate the dry ingredients to the wet, mixing lightly to avoid developing gluten which can make the batter tough.
- Warning: Do not overmix the batter; lumps are perfectly fine and will help create a light, crispy texture.
Step 3: Fry the Cheesecake
- Heat the oil in your deep fryer or pan to 180°C (356°F).
- Dip each frozen cheesecake slice into the batter to fully coat.
- Carefully lower into the hot oil and fry until golden brown, about 4 minutes.
- Use a slotted spoon to remove from oil and drain on paper towels.
- Tip: Keep the cheesecake pieces spaced apart while frying to prevent them from sticking together.
Notes
- Ensure oil returns to the correct temperature between batches to keep the tempura batter from absorbing too much oil and becoming soggy.
- Serve immediately for the best texture.


Leave a Reply