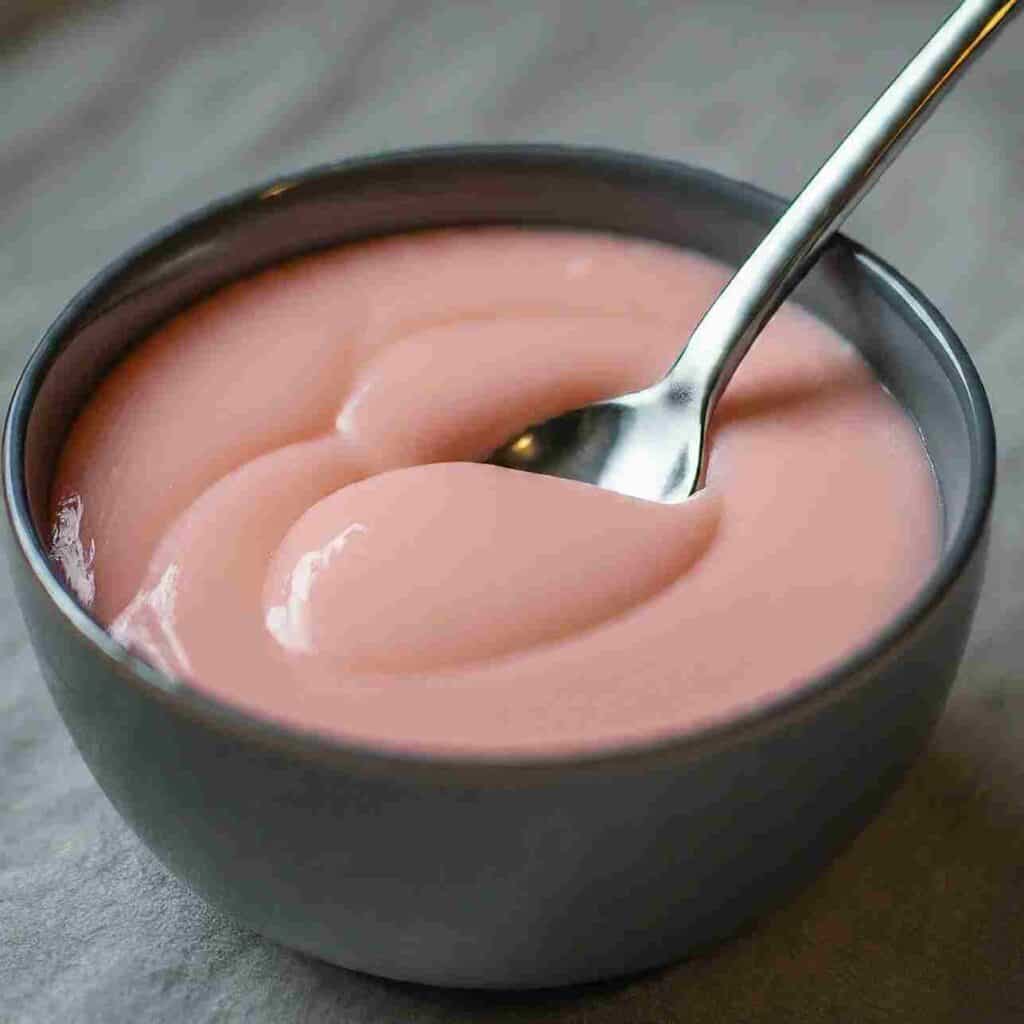
I’ve been whipping up dishes from scratch for decades, not just because I love good food, but because it’s about creating something that can genuinely move people. Today, I’m thrilled to share a recipe that’s sure to bring a bit of joy and a dash of nostalgia—Tubby Custard Recipe This delightful treat isn’t just for the little ones; it’s a creamy, dreamy dessert that anyone with a sweet tooth will adore.
Let’s cut to the chase. We’re diving into a recipe that’s packed with simplicity yet guarantees a burst of lush, creamy flavor. Get ready to treat yourself and your loved ones to something spectacularly sweet!
Recipe Overview
- Course: Dessert
- Cuisine: Fictional Delight
- Total Servings: 4
- Prep Time: 10 minutes
- Cook Time: 15 minutes
- Total Time: 25 minutes
Kitchen Equipment Needed
Before we jump into the magic of making Tubby Custard, make sure you have the following kitchen gear at your disposal:
- Large pot
- Whisk
- Measuring cups and spoons
- Mixing bowl
- Custard cups or small bowls for serving
Talking about Tubby Custard reminds me of how crucial it is to have the right tools to achieve that silky smoothness.
Ingredients
| Ingredient | Quantity |
|---|---|
| Whole milk | 2 cups |
| Heavy cream | 1 cup |
| Vanilla extract | 2 teaspoons |
| Sugar | 1/2 cup |
| Cornstarch | 3 tablespoons |
| Egg yolks | 3 |
| Pink food coloring | 4-5 drops |
Note: Real Tubby Custard is as pink as a blooming rose! Make sure to get that color just right with the food coloring.
Step by Step Instructions
Step 1 – Prep Your Ingredients
- Gather all ingredients.
- In a bowl, whisk together sugar, cornstarch, and egg yolks until smooth and creamy.
Always start with room temperature eggs to ensure they blend smoothly into your mixture.
Step 2 – Cook the Custard
- In a large pot, heat milk and cream on medium until warm but not boiling.
- Gradually add the egg mixture to the pot, whisking constantly.
- Keep whisking and cook over low heat until the custard thickens enough to coat the back of a spoon, about 10-15 minutes.
Remember, patience is key here. Don’t rush the cooking process, or you’ll end up with scrambled eggs!
Step 3 – Add Flavor and Color
- Remove from heat.
- Stir in vanilla extract and pink food coloring until you achieve a vibrant pink hue.
Getting the perfect pink can take a bit of trial and error. Start with a few drops and adjust as needed.
Step 4 – Chill and Serve
- Pour the custard into serving dishes.
- Allow to cool slightly, then refrigerate for at least 1 hour until set.
- Serve chilled with a sprinkle of magic (or just a simple garnish of fresh fruit).
Chilling your Tubby Custard helps it achieve that perfect pudding-like consistency.
Additional Tips
- For a lactose-free version, substitute almond or coconut milk for the dairy.
- Custard too runny? Cook a bit longer next time but keep that whisk moving to avoid lumps.
Pairing Suggestions
The simplicity of Tubby Custard makes it a versatile dessert. Consider pairing it with:
- A drizzle of raspberry coulis for a fruit-forward touch.
- Light, crispy wafers for a bit of texture contrast.
Nutritional Information
| Nutrient | Amount per serving |
|---|---|
| Calories | 290 |
| Total Fat | 18g |
| Saturated Fat | 11g |
| Cholesterol | 190mg |
| Carbohydrates | 25g |
| Protein | 4g |
Note: These values are approximate. Portion sizes and specific ingredients can cause variations.
Dietary Information
This Tubby Custard recipe is naturally vegetarian. For a vegan adaptation, use plant-based milk and cream alternatives and replace egg yolks with a vegan egg substitute.
FAQs about Tubby Custard Recipe
What makes Tubby Custard pink?
The iconic pink hue comes from the food coloring added towards the end of cooking. It’s all about aesthetics, so feel free to adjust the intensity to your preference.
How can I thicken my Tubby Custard if it’s too runny?
Increase the cornstarch slightly in your next batch, or cook the custard a bit longer, ensuring continuous stirring to achieve the desired consistency.
Can I make Tubby Custard without eggs?
Yes, you can use a cornstarch-only base for a vegan version, though the texture will be slightly different from the traditional egg-based custard.
What’s the longest time Tubby Custard can stay in the fridge?
Properly stored in an airtight container, Tubby Custard can last up to 5 days in the refrigerator.
Can Tubby Custard be frozen?
Freezing is not recommended as it can alter the texture and consistency of the custard.
Is Tubby Custard gluten-free?
Yes, this recipe is gluten-free, but always check your specific brand of vanilla extract and food coloring to be sure.
Can I use natural food dyes in Tubby Custard?
Absolutely! If you prefer to avoid artificial colors, natural pink food coloring derived from beets or berries is a great alternative.
Conclusion
There you have it—a foolproof recipe for creating the creamiest, dreamiest Tubby Custard. It’s not just about following steps; it’s about infusing a bit of joy into every spoonful. Whether you’re reliving childhood memories or making new ones, this Tubby Custard recipe is a fabulous way to bring a smile to anyone’s face.
I’d love to hear how your Tubby Custard turns out! Feel free to share your experiences, ask questions, or provide feedback in the comments below. Let’s make every dish a delicious adventure!
Check out some more delicious dessert recipes:
- Cici’s Cinnamon Rolls Recipe
- Maggiano’s Gigi Butter Cake Recipe: A Sinful Delight from Scratch
- Salpores de Arroz Recipe: The Most Delicious Treat
- Fricassee Cake Recipe: A Delightful Dessert for Any Occasion
Tubby Custard Recipe
Equipment
- Large pot
- Whisk
- Measuring cups and spoons
- Mixing bowl
- Custard cups or small bowls for serving
Ingredients
- 2 cups Whole milk
- 1 cup Heavy cream
- 2 teaspoons Vanilla extract
- 1/2 cup Sugar
- 3 tablespoons Cornstarch
- 3 Egg yolks
- 4-5 drops Pink food coloring
Instructions
Step 1 – Prep Your Ingredients
- Gather all ingredients.
- In a bowl, whisk together sugar, cornstarch, and egg yolks until smooth and creamy.
- Always start with room temperature eggs to ensure they blend smoothly into your mixture.
Step 2 – Cook the Custard
- In a large pot, heat milk and cream on medium until warm but not boiling.
- Gradually add the egg mixture to the pot, whisking constantly.
- Keep whisking and cook over low heat until the custard thickens enough to coat the back of a spoon, about 10-15 minutes.
- Remember, patience is key here. Don’t rush the cooking process, or you’ll end up with scrambled eggs!
Step 3 – Add Flavor and Color
- Remove from heat.
- Stir in vanilla extract and pink food coloring until you achieve a vibrant pink hue.
- Getting the perfect pink can take a bit of trial and error. Start with a few drops and adjust as needed.
Step 4 – Chill and Serve
- Pour the custard into serving dishes.
- Allow to cool slightly, then refrigerate for at least 1 hour until set.
- Serve chilled with a sprinkle of magic (or just a simple garnish of fresh fruit).
- Chilling your Tubby Custard helps it achieve that perfect pudding-like consistency.
Notes
- For a lactose-free version, substitute almond or coconut milk for the dairy.
- Custard too runny? Cook a bit longer next time but keep that whisk moving to avoid lumps.


Leave a Reply